Installing crowd control barriers effectively requires careful planning and execution to ensure safety and functionality.
Here’s a structured guide to help you through the process:
1. Planning & Preparation Assess the Area: Identify key zones: entrances/exits, stages, high-traffic areas, and emergency access points. Check the surface type (grass, concrete, asphalt) to determine anchoring methods. Review local regulations and permits; ensure compliance with ADA requirements for accessibility.
Gather Materials & Tools: Barriers: Choose type (metal, plastic, retractable) suited to your event and surface. Anchoring Supplies: Bases, weights, sandbags, or ground stakes (for grass). Tools: Measuring tape, chalk/paint for marking, mallet, wrench, and gloves. Safety Gear: Reflective vests, signage, cones, and lighting for visibility.
2. Site Setup Mark the Layout: Use chalk or paint to outline where barriers will go. Ensure pathways are wide enough (e.g., 36+ inches for ADA compliance). Clear debris and level uneven ground (especially on grass).
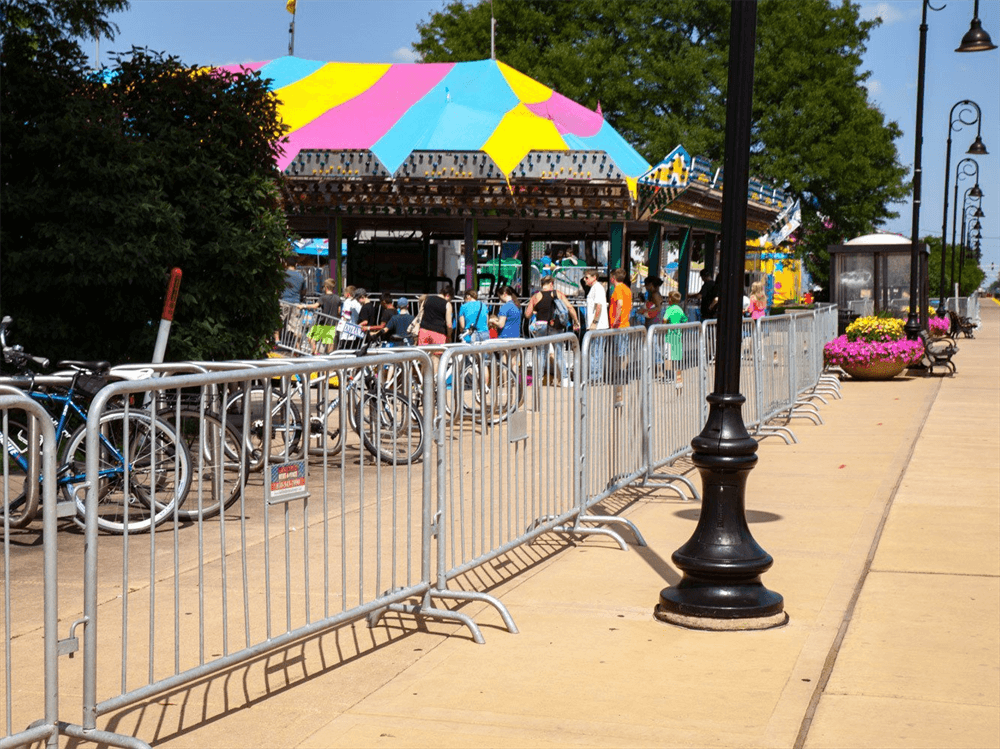
3. Install Barriers Connect Barriers: Link units using built-in connectors or hardware. Ensure interlocking mechanisms are secure. For retractable belts or posts, follow manufacturer instructions for tension and alignment. Anchor Stability: Grass/Soil: Drive stakes through barrier bases using a mallet. Hard Surfaces: Attach sandbags, water weights, or bolt-down bases. Test stability by gently shaking barriers; adjust weights or stakes if loose.
4. Enhance Safety & Visibility Add Signage: Attach “Caution” or “Do Not Enter” signs. Lighting: Use LED lights or glow sticks for low-light conditions. Cones/Tape: Place cones or tape near barriers to guide foot traffic.
5. Final Inspection Check Stability: Walk the perimeter to ensure no gaps, wobbling, or tripping hazards. Test Flow: Simulate crowd movement to identify bottlenecks or weak points. Verify Accessibility: Ensure emergency routes and ADA pathways are unobstructed.
6. Post-Event Removal Disassemble Safely: Remove weights/stakes, drain water/sand, and store barriers properly. Document Issues: Note any damage or instability for future improvements.
Pro Tips Weather Considerations: Use heavier bases in windy conditions or wet terrain. Team Coordination: Share layout plans with security/staff and keep a diagram on hand. Avoid Mistakes: Double-check connections, avoid overcrowding barriers, and ensure high-visibility markings. By following these steps, you’ll create a secure and organized environment for any event. Always prioritize safety and adaptability to crowd dynamics!
Post time: May-02-2025